
News
How to Install Cornhole Board Wraps
Feb

Here are some tips for applying cornhole wraps to painted cornhole boards. I typically sand the top of the boards with 150 grit sand paper. This helps to smooth out small imperfections and bumps that could show through. Then wipe down the board and the back of the wrap with tack cloth. Make sure to get all of the dust as this could cause major issues with proper adhesion!
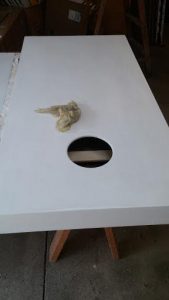
Now lay the wrap on top of the board and get it lined up. I have found that using some blue putty for hanging posters under both corners of one end of the board works well to temporarily hold the wrap in place. It doesn’t really matter which end you apply the putty to, I tend to do this at the bottom (away from the hole) but it shouldn’t make any difference. I have also used thumb tacks but these do (of course) leave small pinholes. The putty will now keep the one end of the graphic held in place to get the top started.
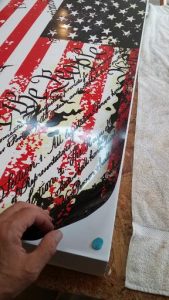
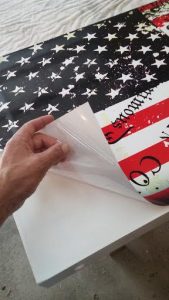 Start peeling off the backing from one of the corners on the opposite end of the blue putty. I typically peel about 9-12 inches to start. Then fold that backing under the graphic toward the bottom and pull on both corners of the top to position and start sticking down. The adhesive is pretty strong, but you can pull it up if it needs to be adjusted. Pretty important that it is straight at this point as any errors will be exaggerated as you work down the board. I just use a soft rag to then wipe over the portion that has been stuck down to adhere and make sure there are no bubbles. If there are bubbles, just try to work them out without creasing.
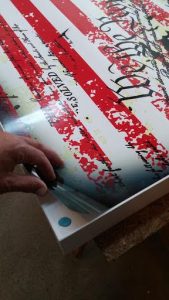
At this point I remove the gum holding the bottom corners to allow the bottom portion to be loose. This allows reaching under the wrap to grab the backing that is folded under and start pulling it towards the bottom of the board. I put my hand on top of the folded backing and just work it against the top of the board down. This allows me to follow with my other hand on top with a rag to adhere the graphic as the backing is removed.
If you have any bubbles at the end, try to work them out. If they are very stubborn, you can poke a hole in them to release the air and this should allow you to press it down. Then, use a razor blade and just follow around the hole to cut it out.
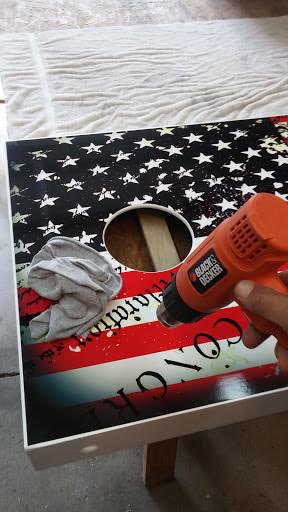
Finally, I use a heat gun (hair dryer will work also) to heat the wrap and use a rag to press down when heated. A glove is a good idea! As you heat the wrap, you will typically see bubbles form. Just use the rag and press them out. I wouldn’t heat them up too much but just until you see some bubbles.
You should finish them with a couple coats of polycrylic. The poly should be allowed to cure for 48 hours